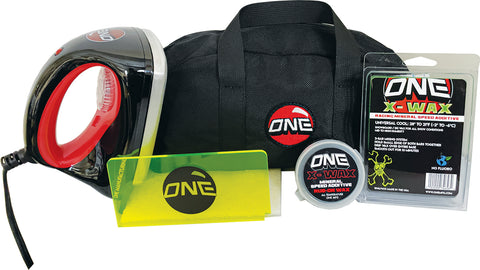
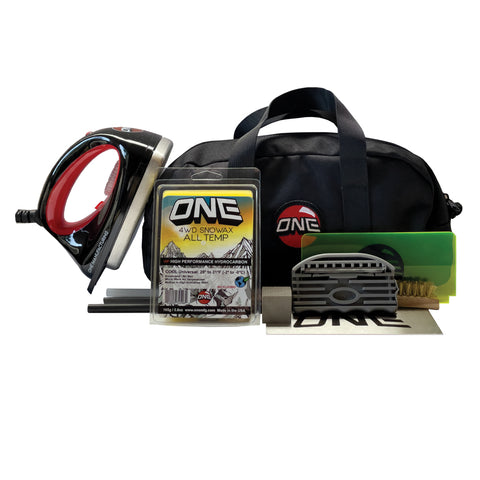
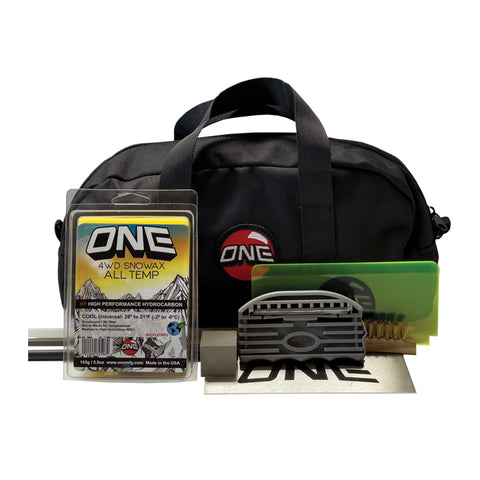
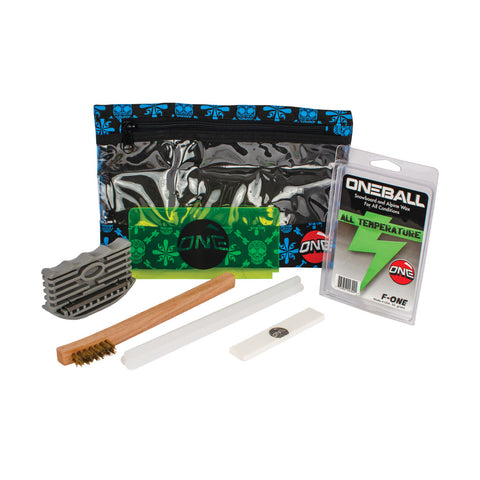
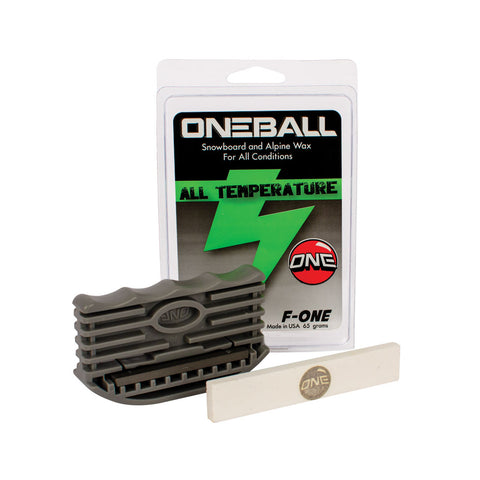
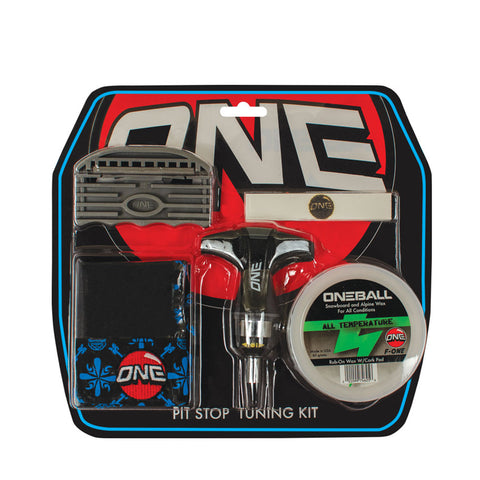
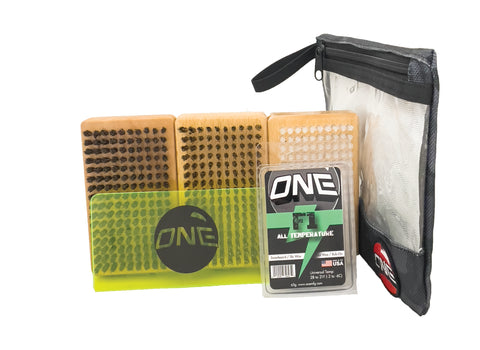
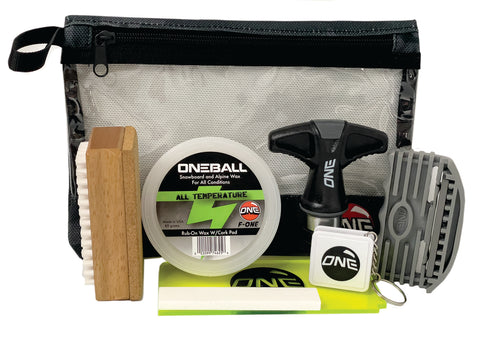
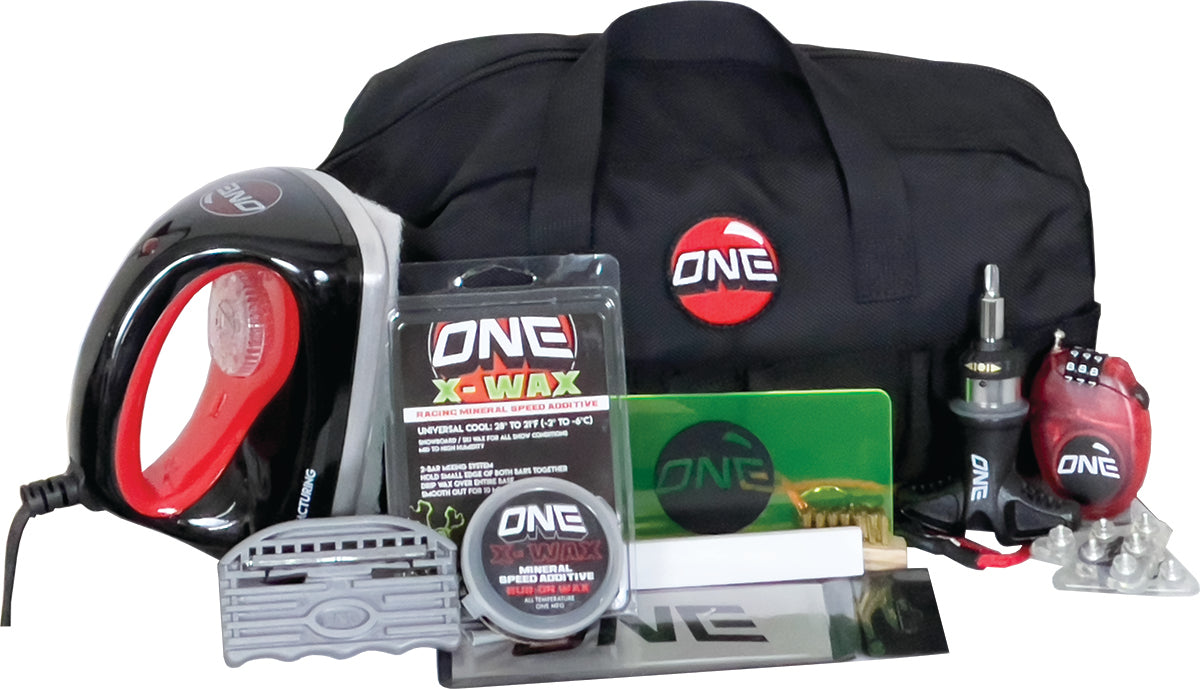
World Domination Snowboard / Ski Tuning Kit (The most complete and biggest)
Sold Out
Speed is Safety!
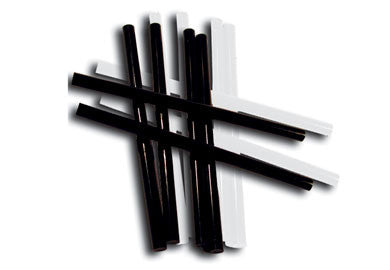
The World Domination Kit has everything to get take care of business plus the bag is awesome and will organize as well as hold everything you need to stay sharp and fast! Includes high quality, USA made waxes!
This kit includes:
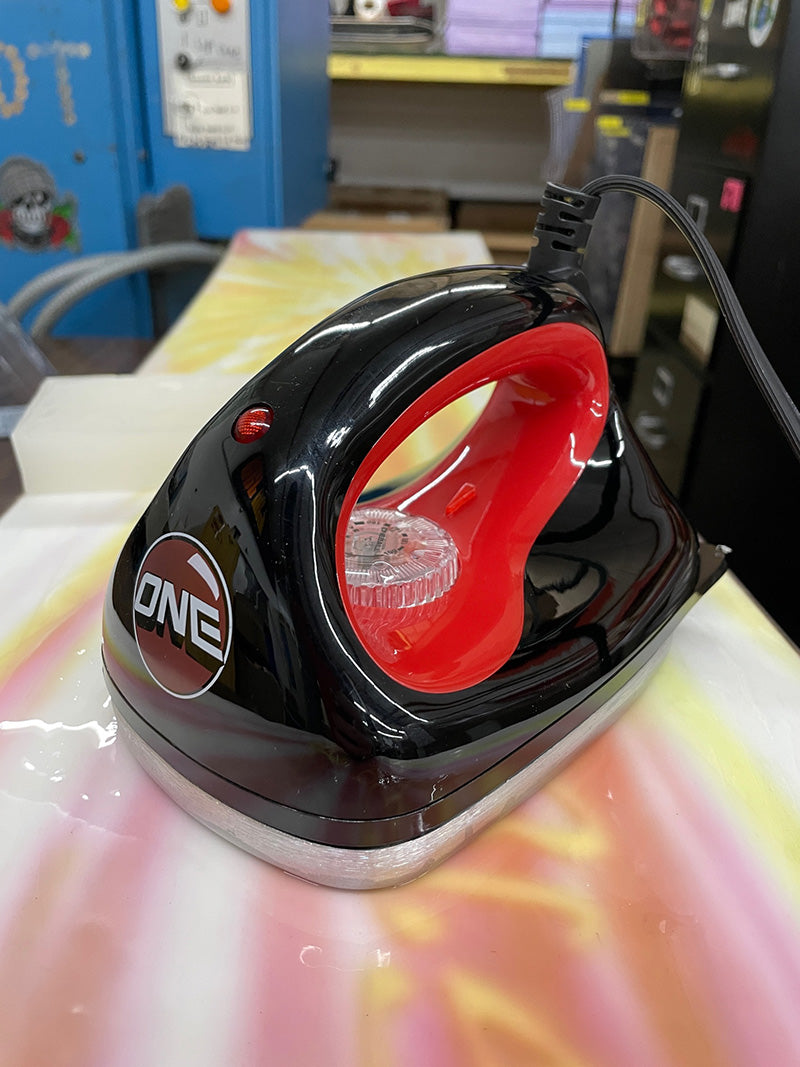
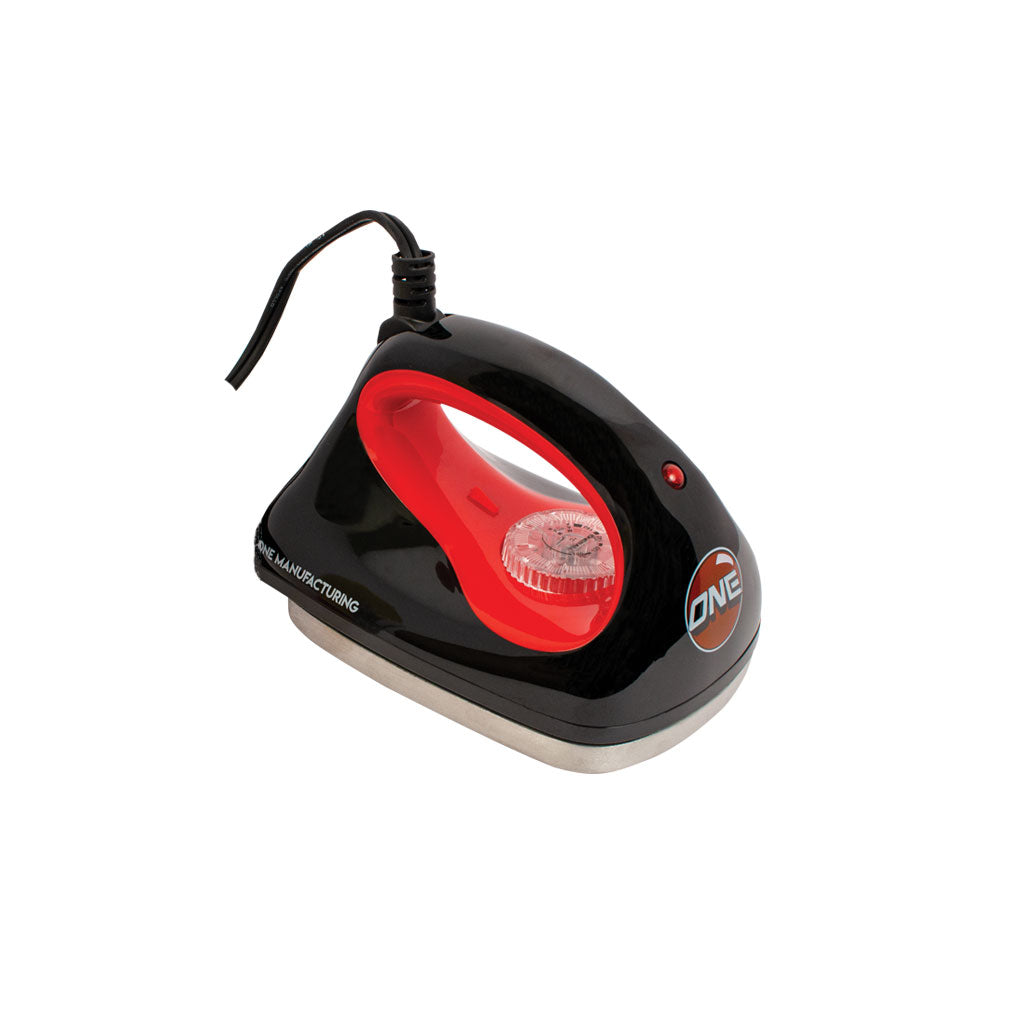
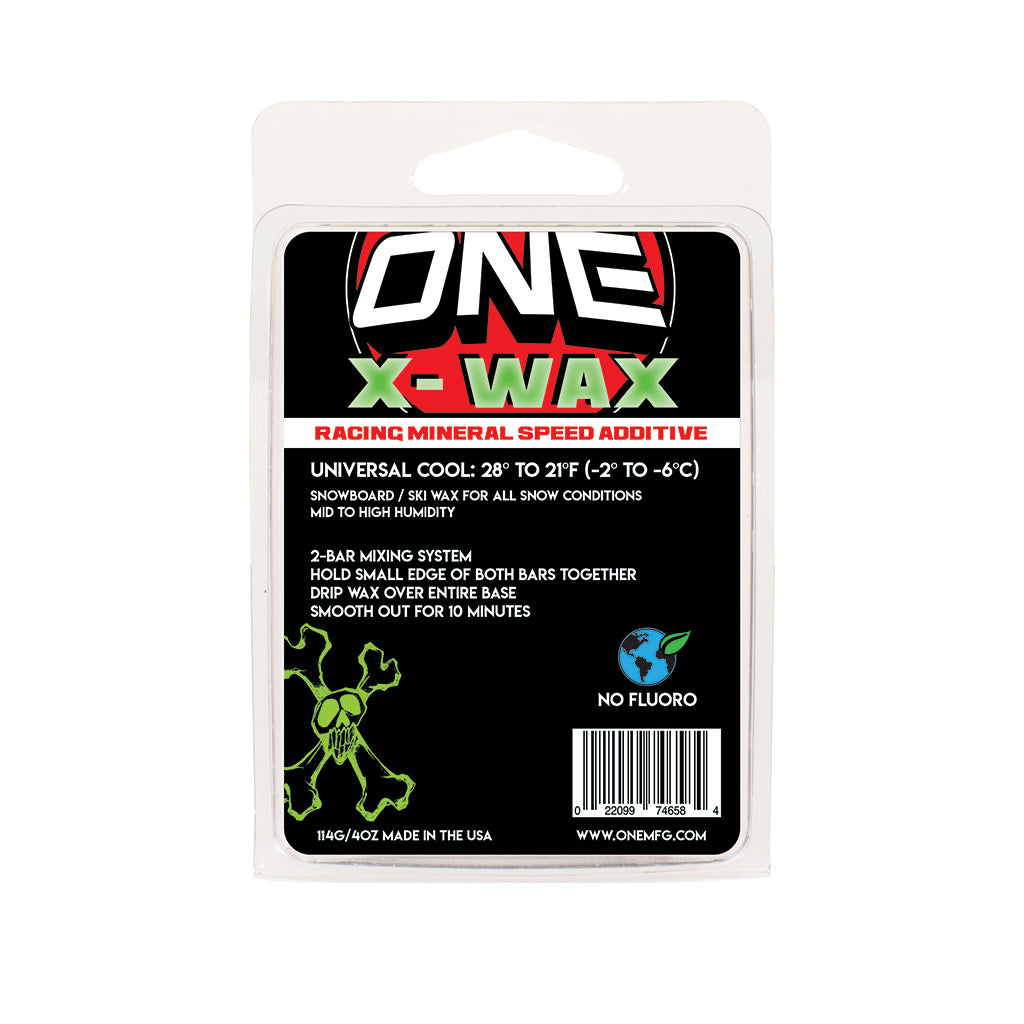
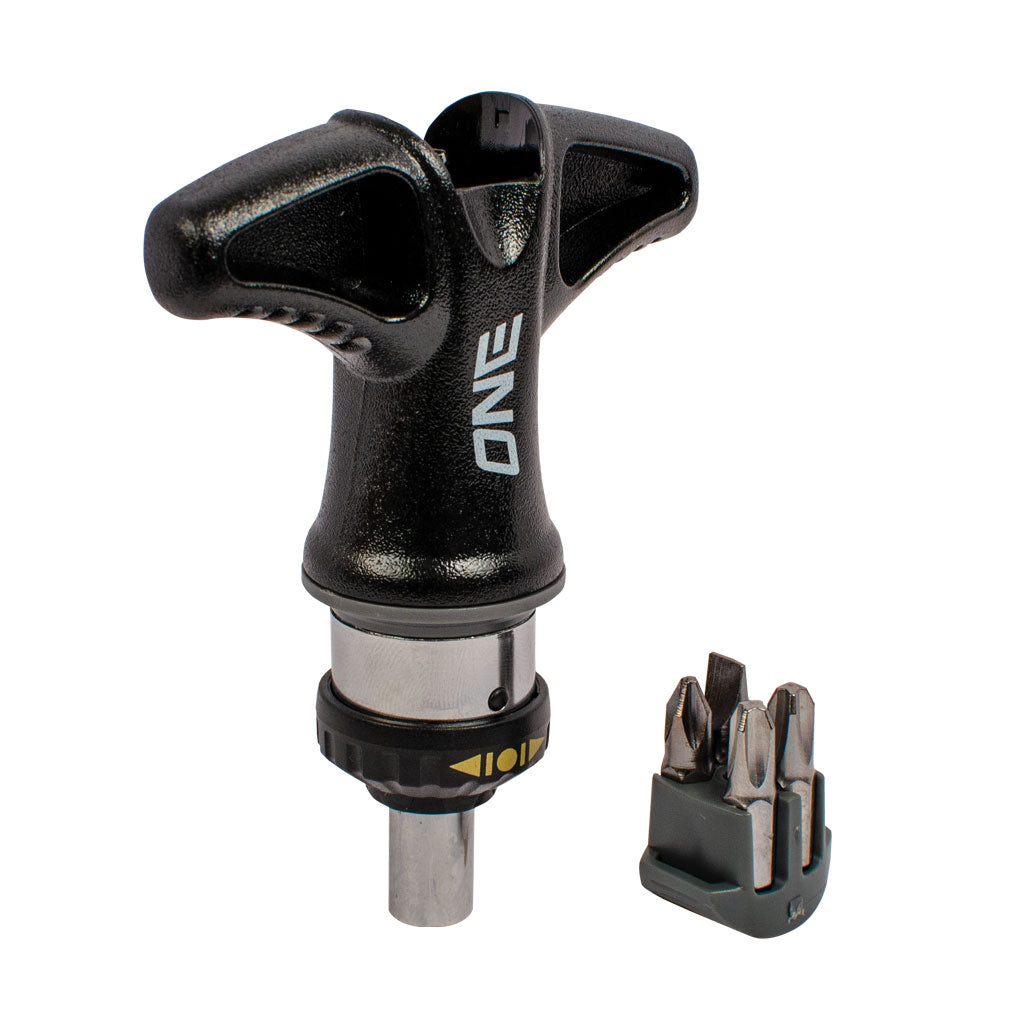
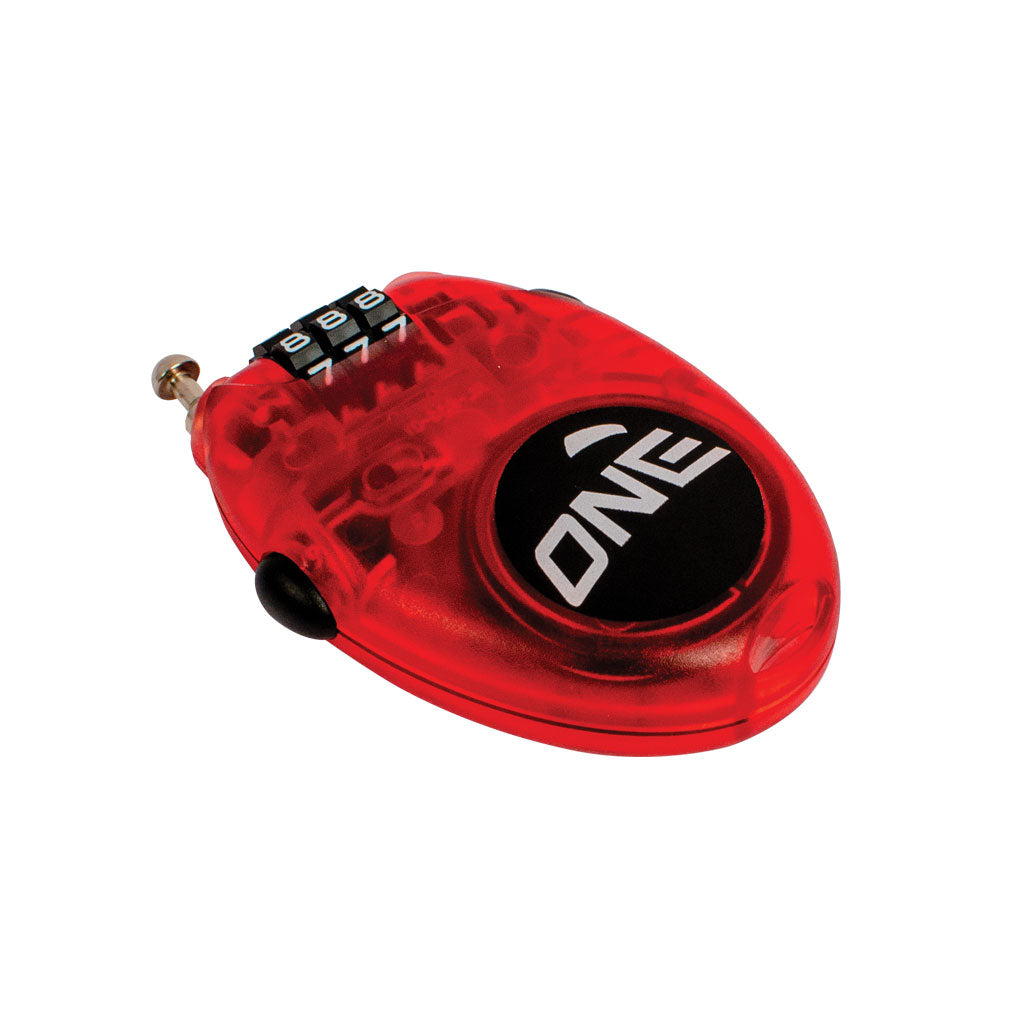
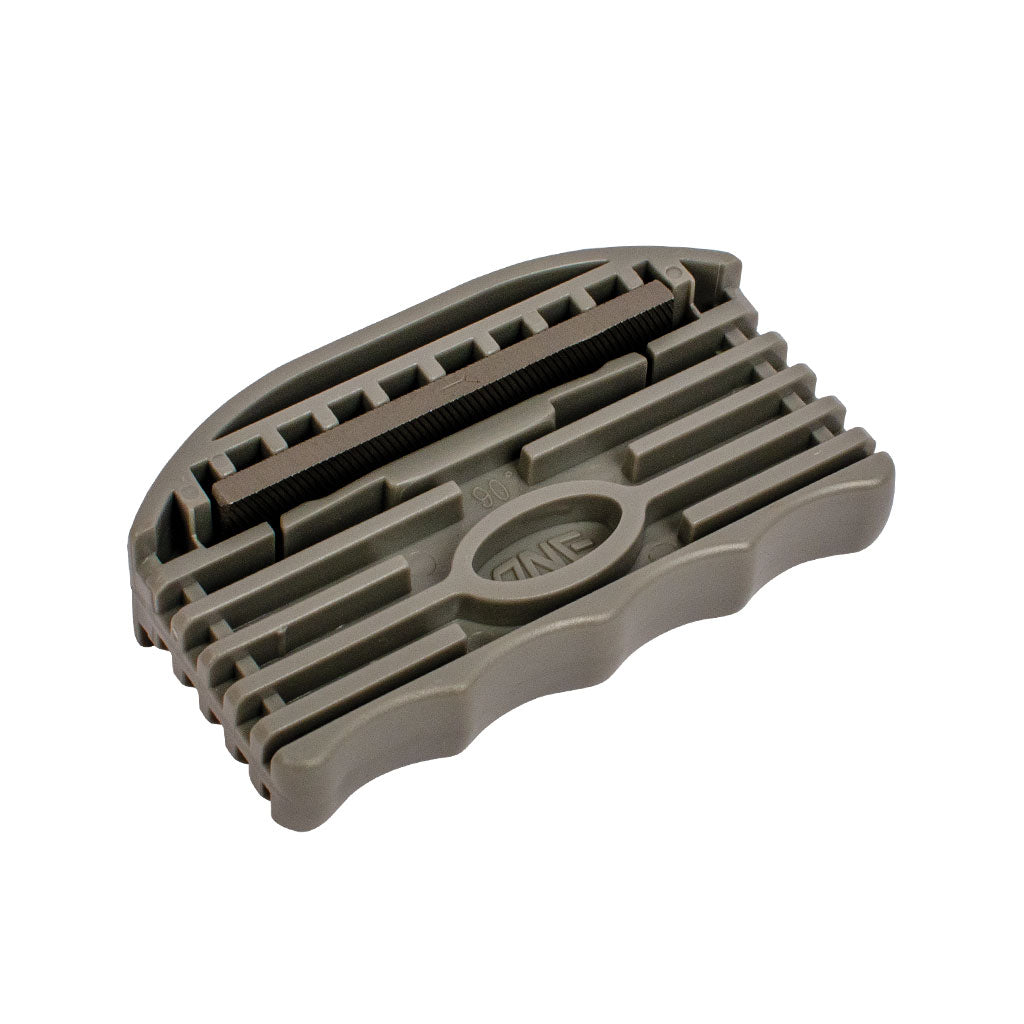
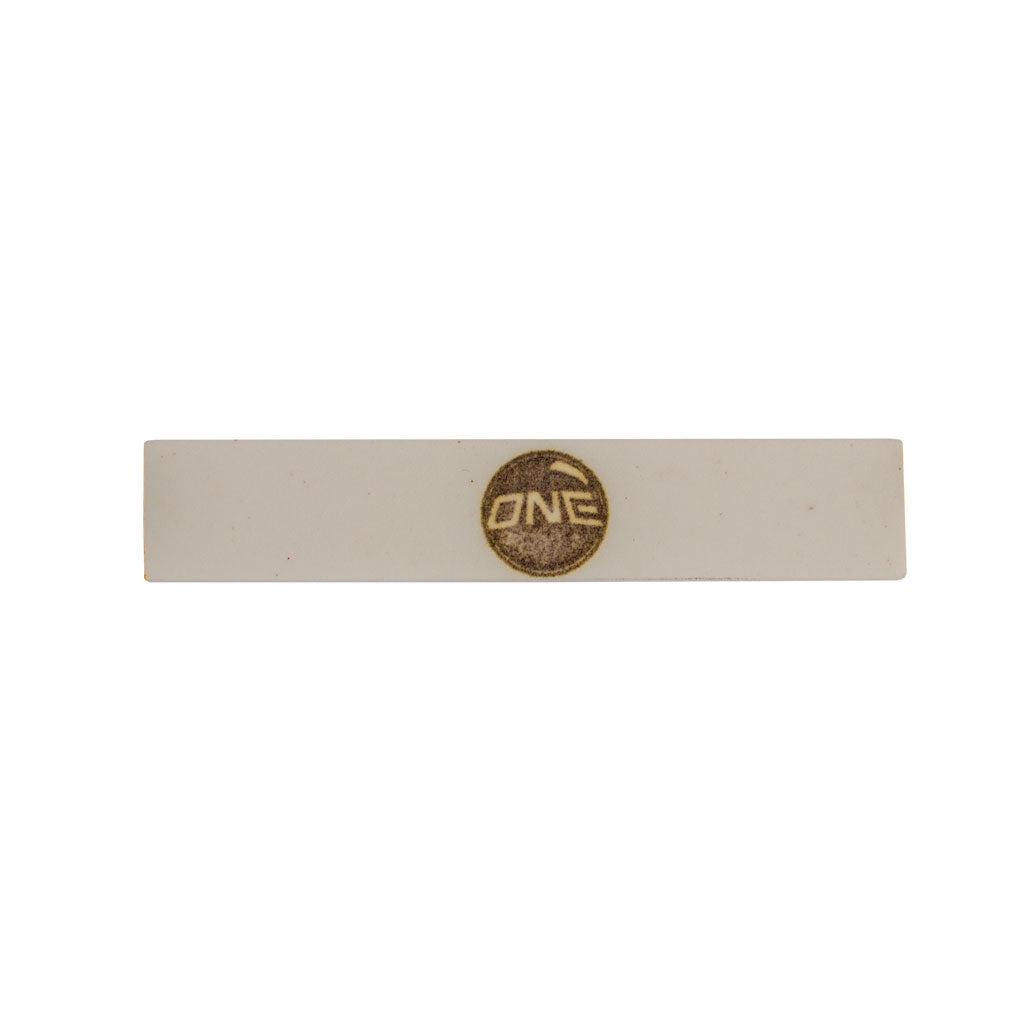
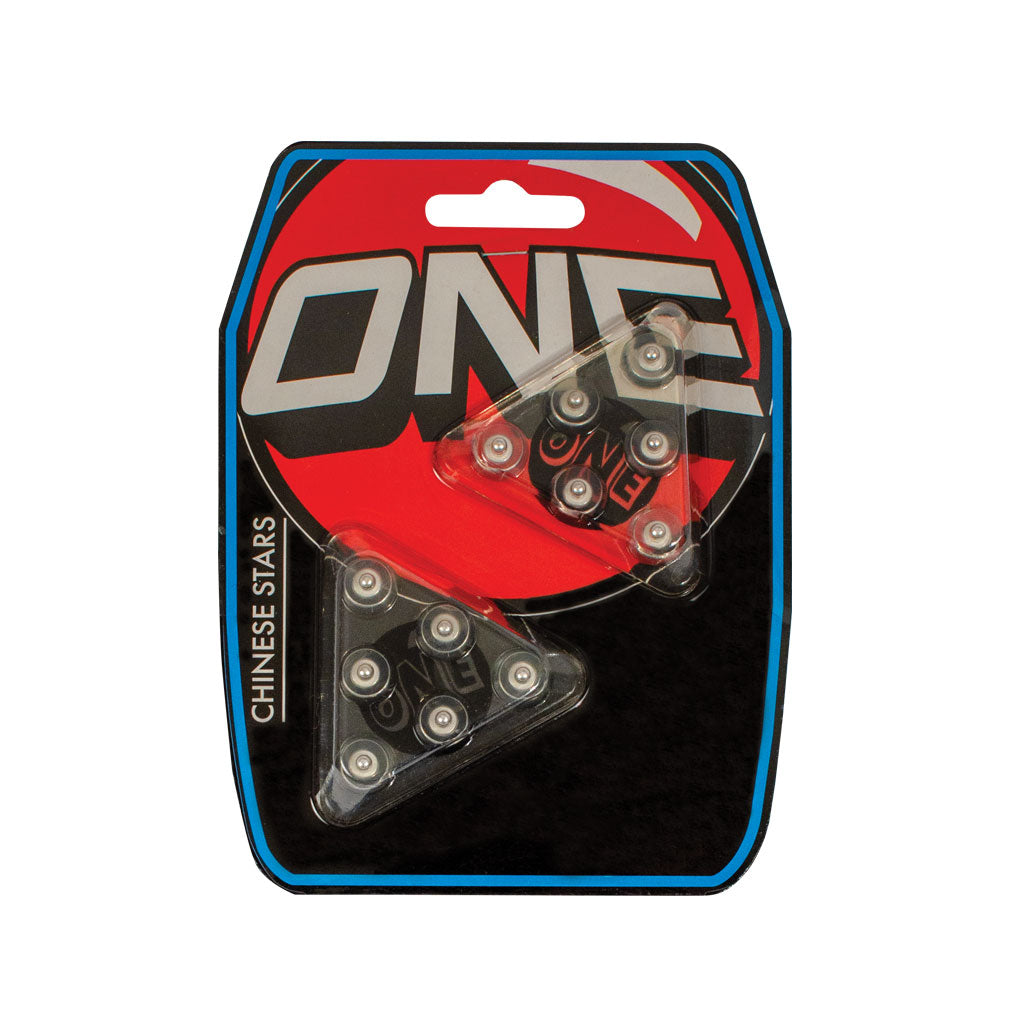
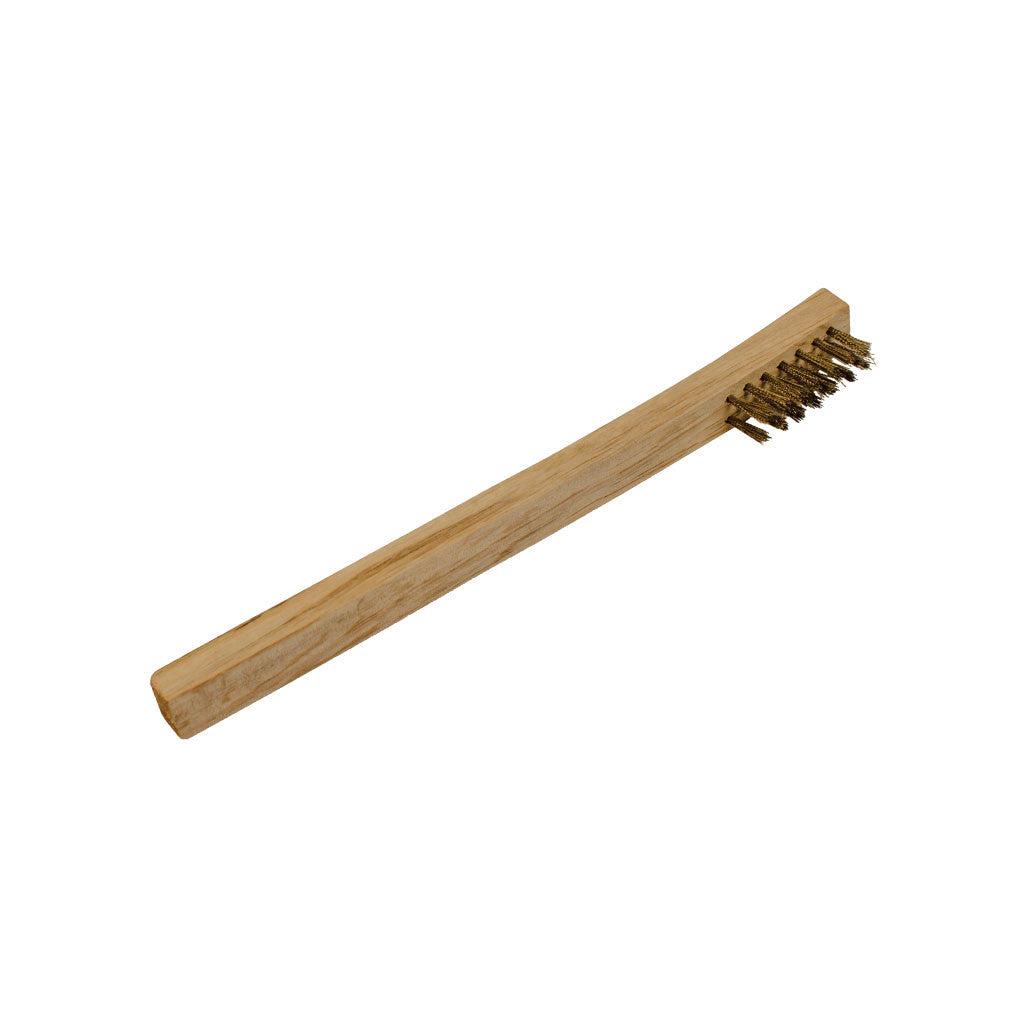
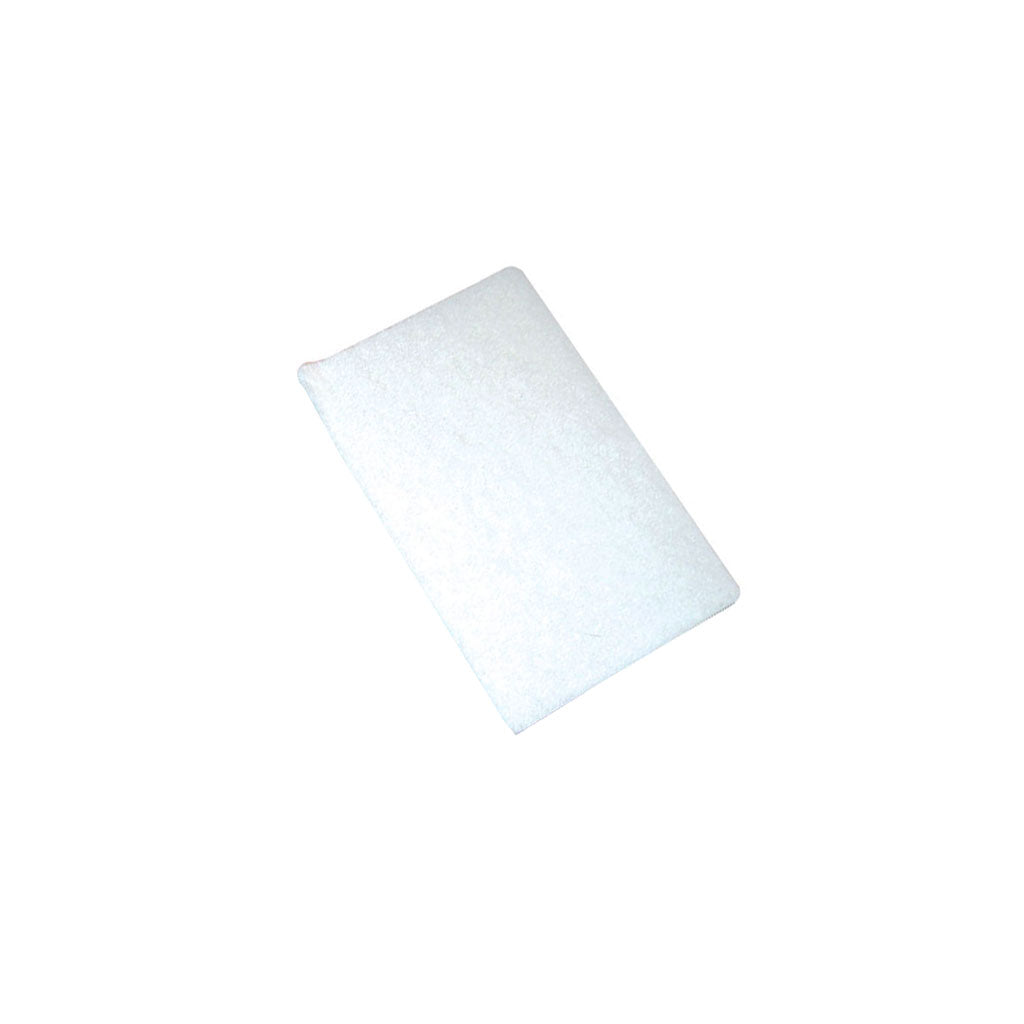
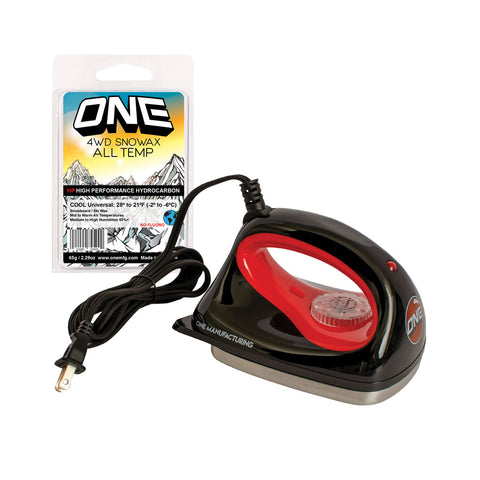
Complete instructions, 110 Voltage Wax Iron, Pocket Edge Tool, File Brush, Plastic Scraper, Steel Scraper, Cable Lock, Ceramic Stone, Fiber-tex Pad, P-Tex candles, Pocket Screwdriver, Chinese Stars Stomp Pads, Two High Performance Waxes, Snap Pea Leash and Custom Bag.
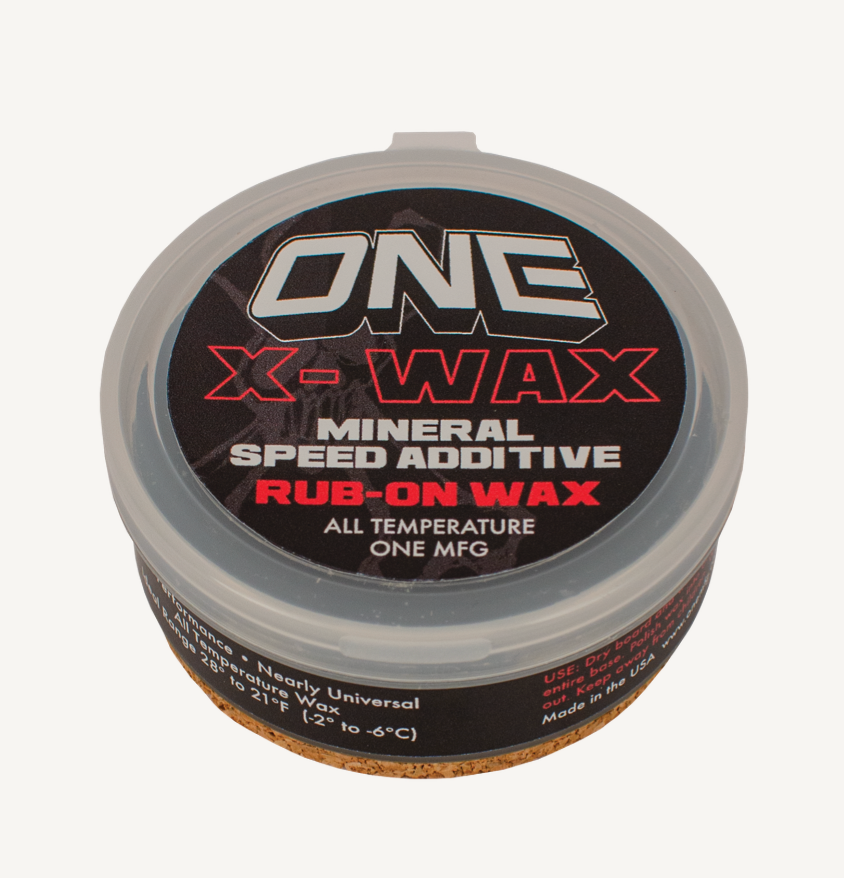
Rub-On Wax Instructions:
1. Dry base
2. Warm base if possible (easier to wax)
3. Wear a glove for edge protection
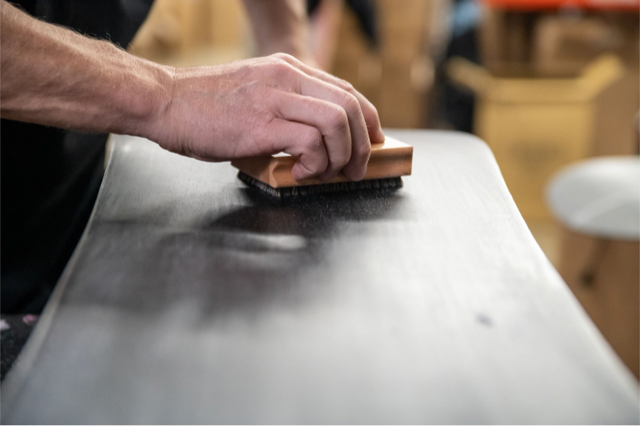
4. Rub Wax into base with pressure. Apply to completely cover.
5. Use cork to polish wax into base.
6. Lightly scrape off (if possible)
7. Lightly brush out or polish to remove extra wax
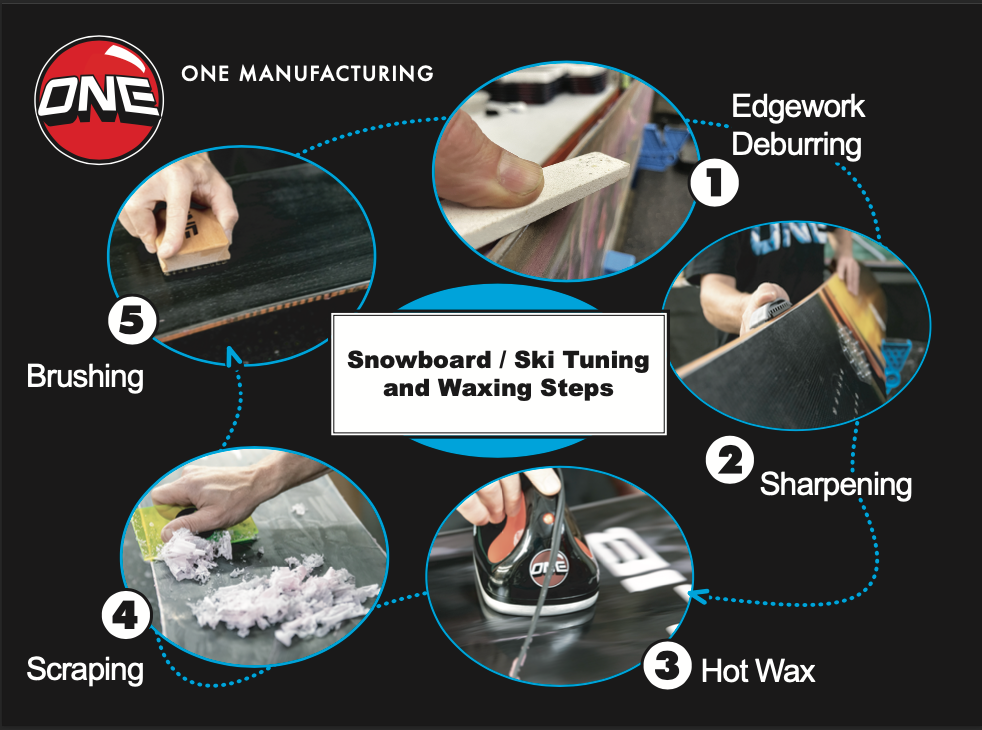
Waxing, Scraping, Iron Instructions:
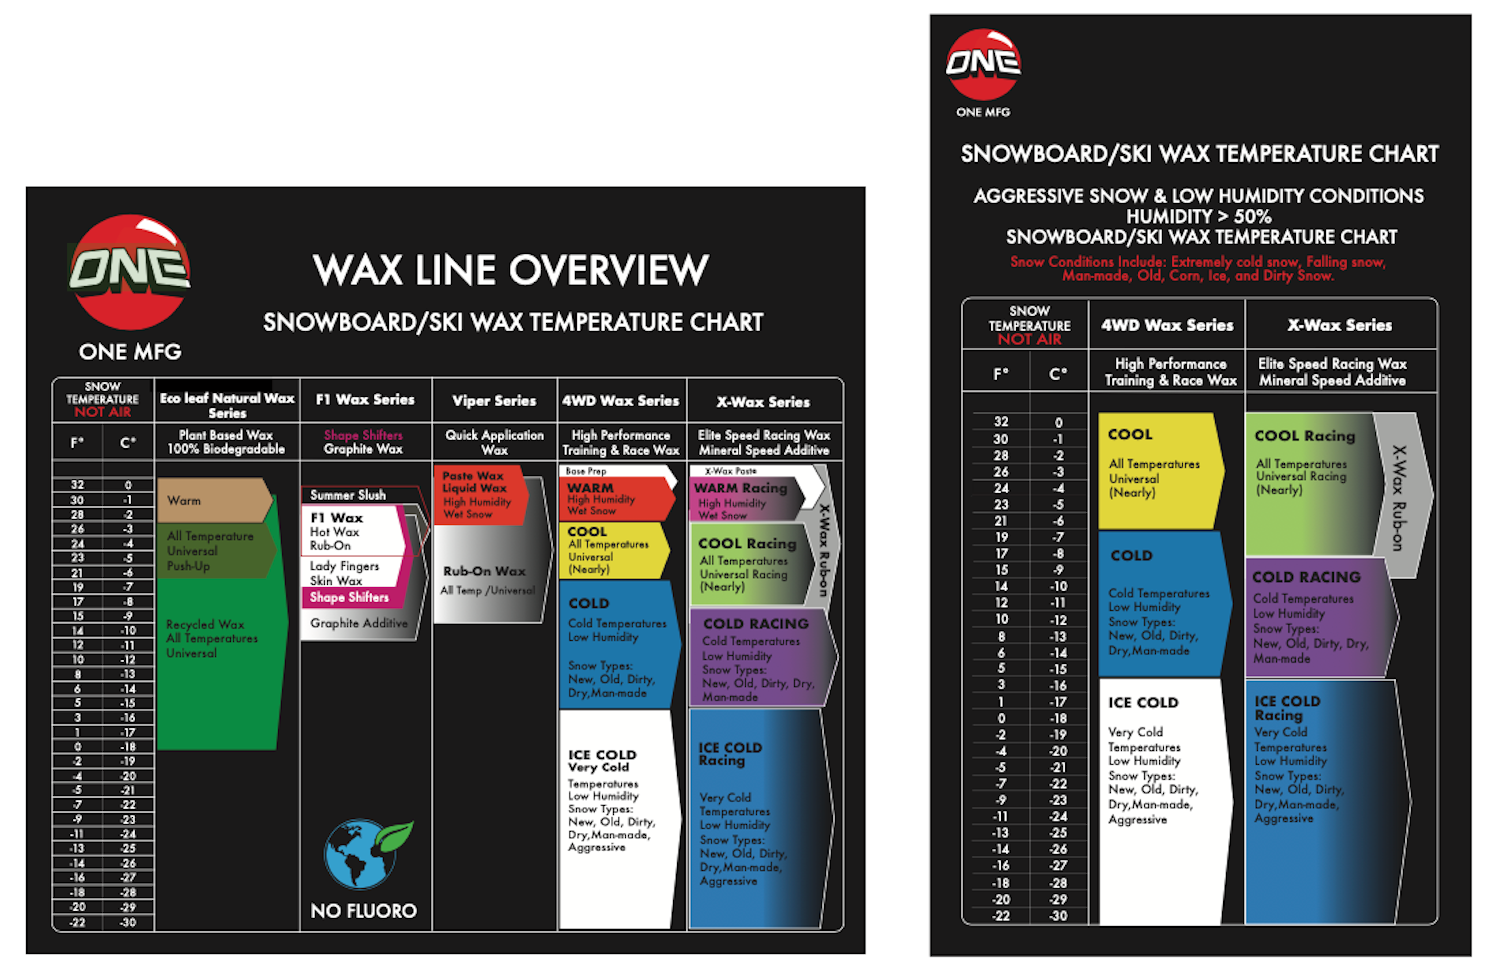
1. Select correct temperature specific wax by checking mountain conditions/snow report...(actual snow temperature, not air).
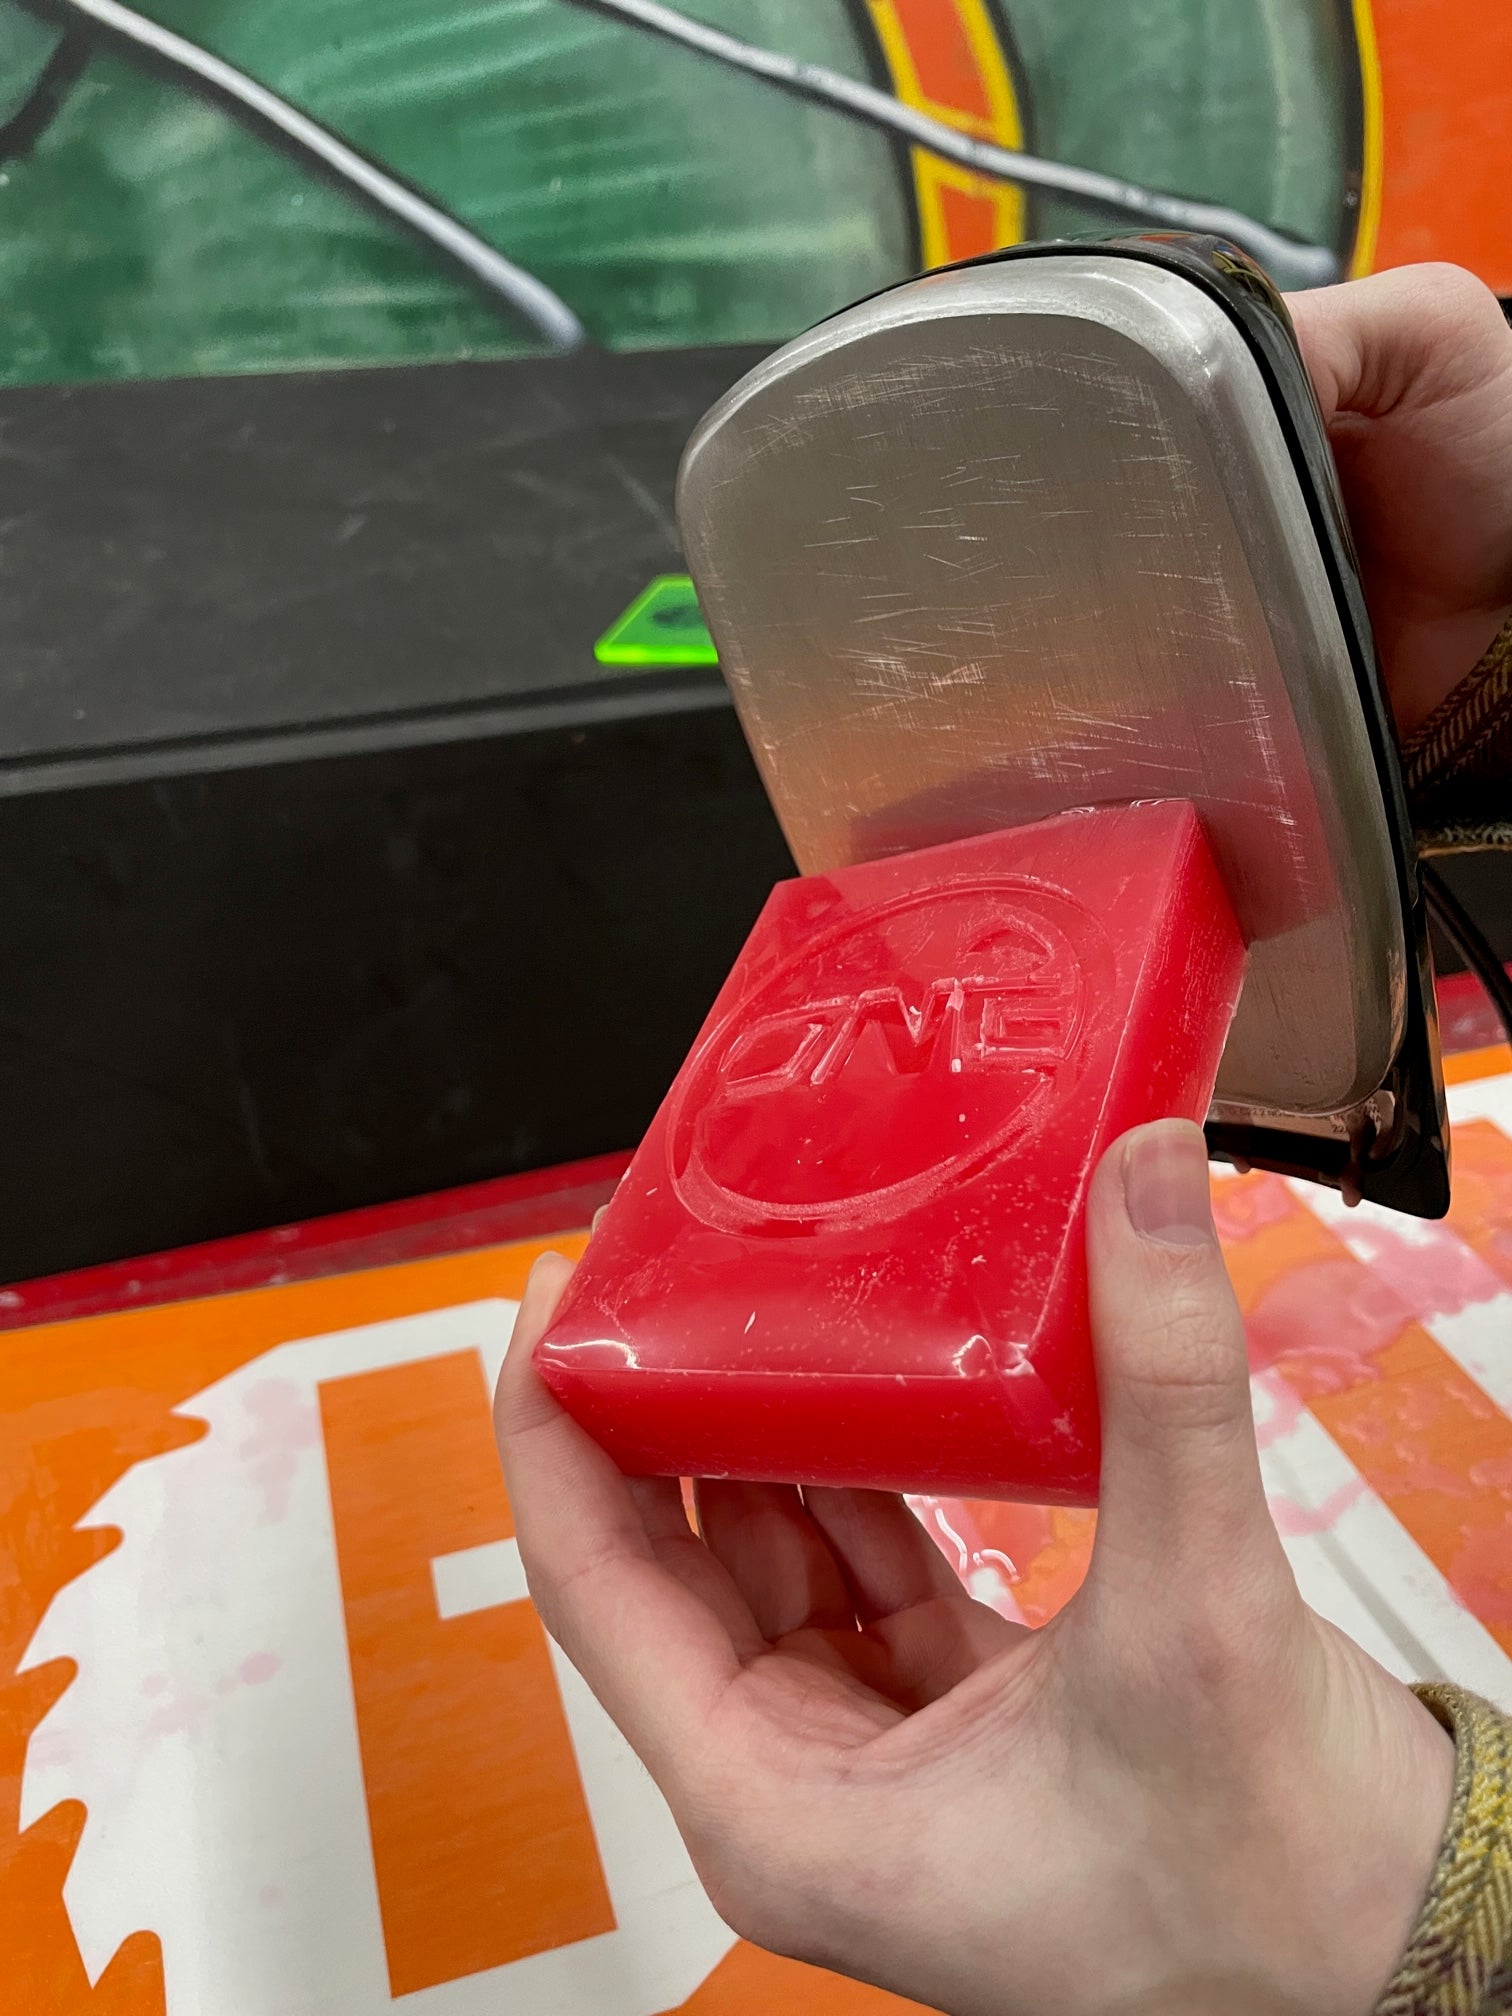
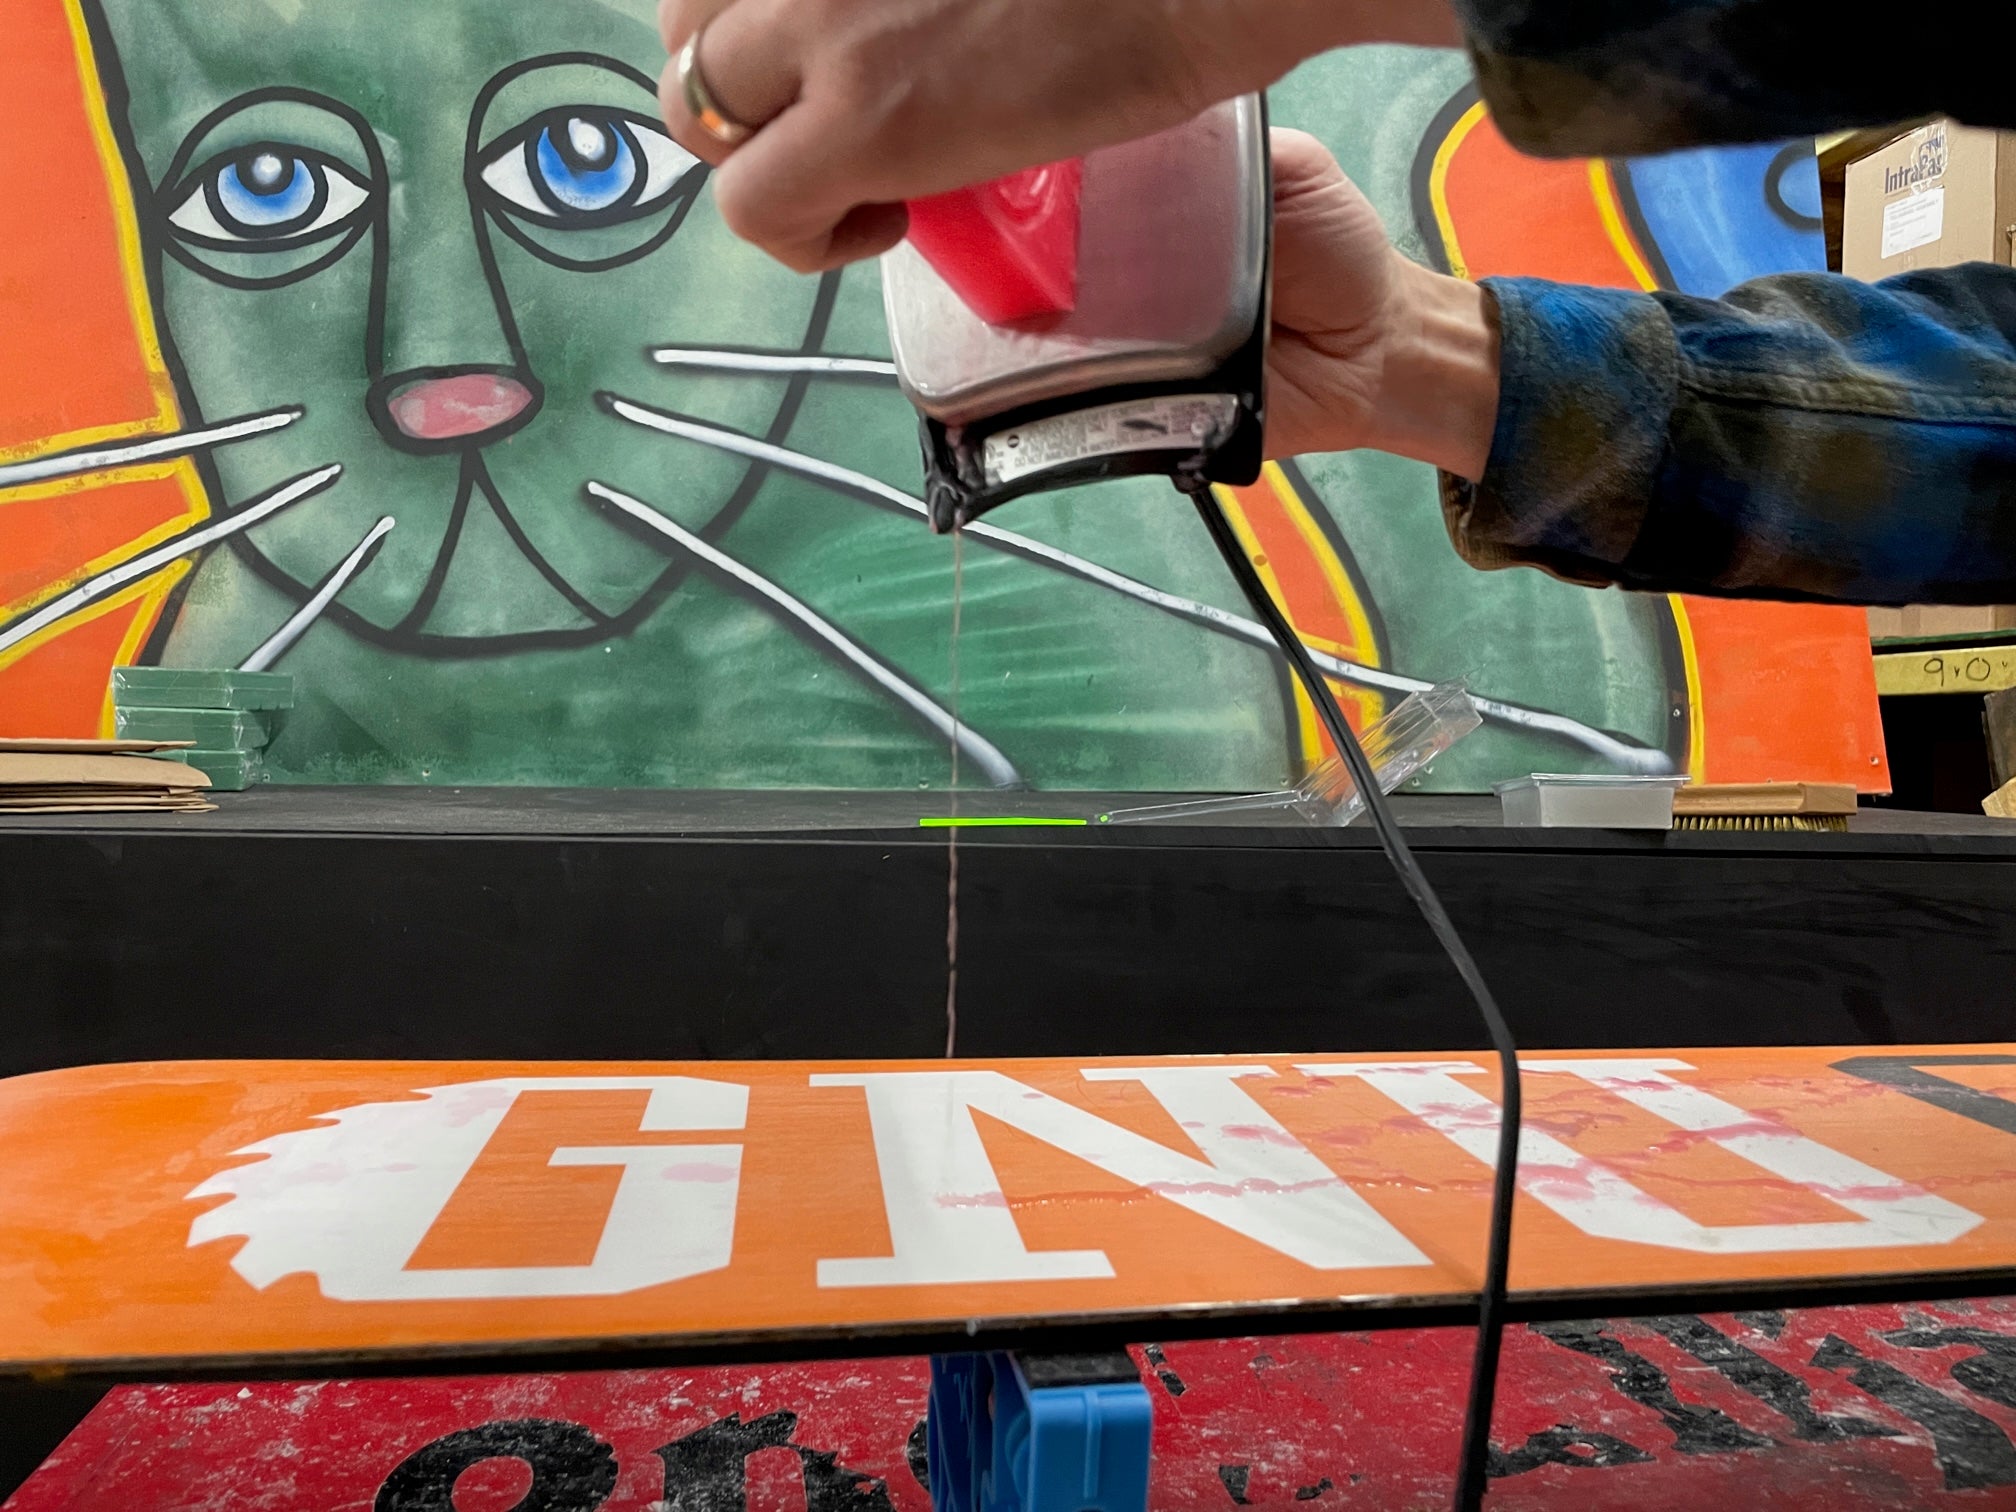
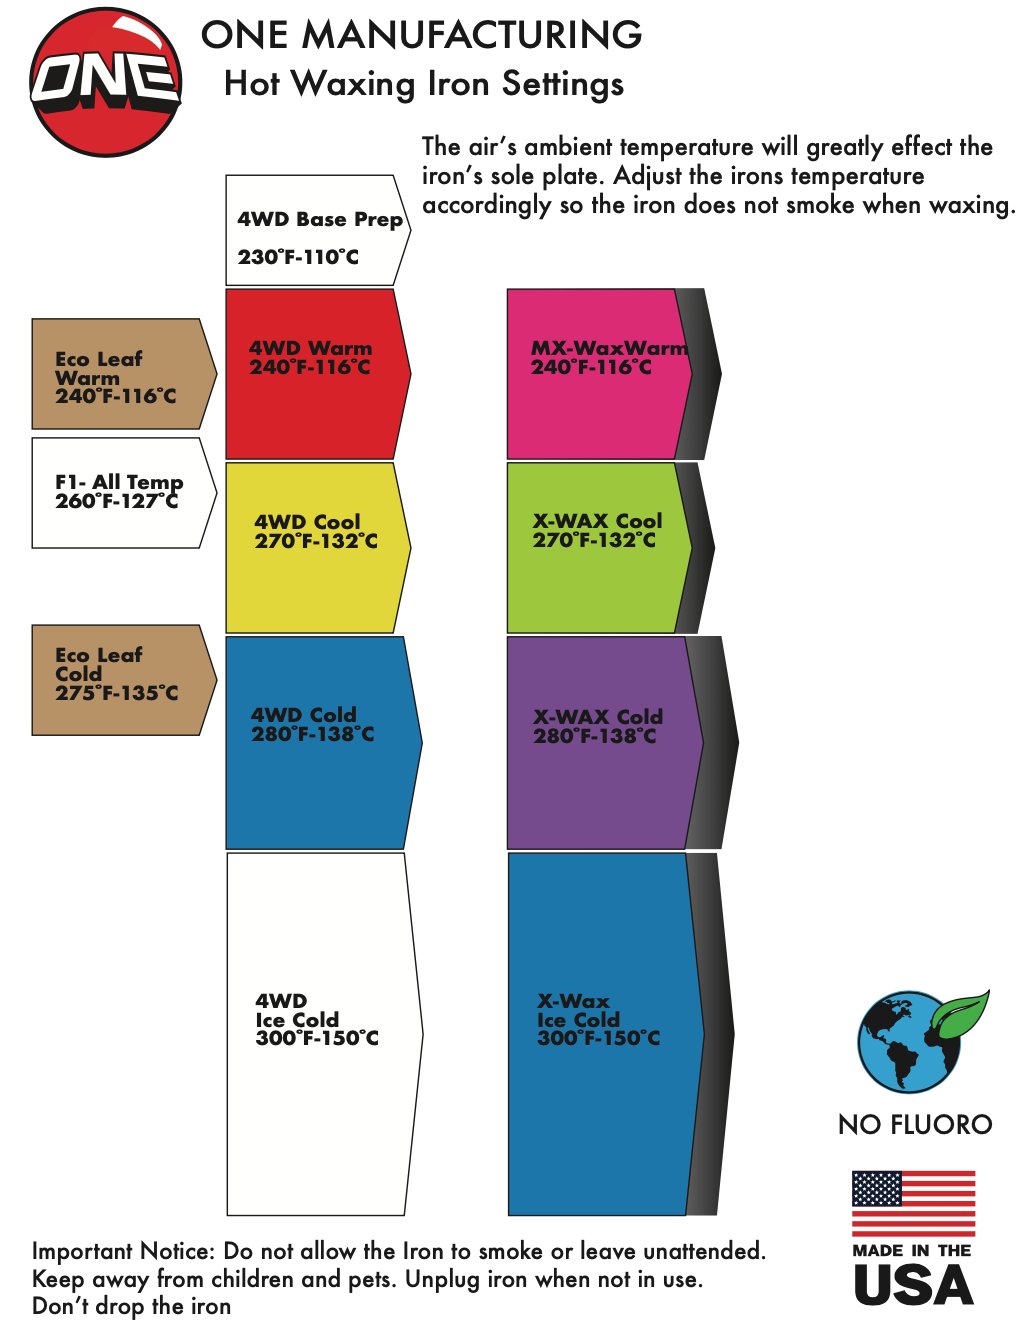
2. Press wax on the iron and distribute small drips of wax over the entire base. DO NOT ALLOW IRON TO SMOKE!
3. With iron in hand, slowly pull the iron over the wax drips, smoothing them into a sheet of wax that covers the entire base tip to tail.
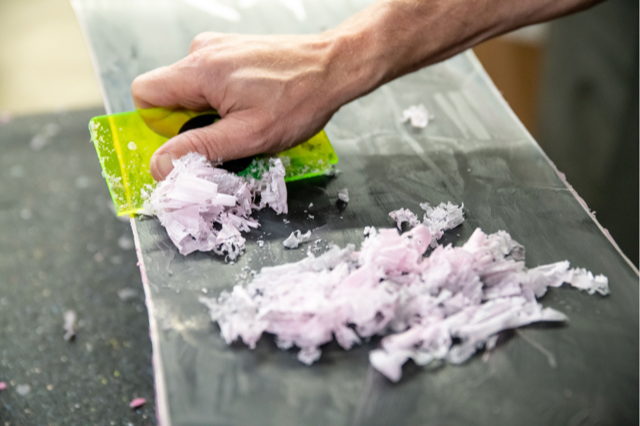
4. Let the wax cool 10-15 minutes, then scrape with a sharp plastic scraper. DO NOT USE a steel scraper.
5. Use a wax brush or fiber pad, remove excess wax from base, brushing from tip to the tail. This allows your base to glide fast.
Tuning Instructions:
1. Place Board or skis in a vise to secure and clean base with a fresh hot wax job and scrape or use ONE MFG Base Cleaner.
2. Check the side and base edges for burrs. Rub a ceramic, diamond or gummy stone over the area to remove burrs in preparation for edge shaping.
3. Use the ONE MFG Edge Tool to sharpen side edges. Start from the tip and pull smoothly with firm pressure to the tail. Do this in smooth passes until the edges are sharp. Repeat on the other side. Remember to flip the file around so that the teeth face the proper direction...look for the arrow.
4. If you like your board or skis to be catch free in the tip and tail then de-tune using a de-burring stone to round the edges on the tip and tail. Start on the edges as they curve up into the tail and nose and file down approx. 1.5" past the edge contact point as your base lays flat.
5. For really sharp edges, take a fine diamond stone or polishing stone and go over the edge again, using the same technique.
6. If you like to jib rails and boxes, don't sharpen your edges much to keep them catch-free.
The Pocket Screwdriver Features:
Ratcheting T-handle designed for high torque output, High quality micro adjustable parts, Steel construction, High impact plastic handle, Micro-stash compartment for bits in the handle, Bits included, Phillips stubby bit (for snowboard hardware), Phillips #2 and #3, Flat Head #4 and #6.
Stomp Pad Instructions:
1. Clean board surface and dry completely. Use ONE MFG Base Cleaner, rubbing alcohol, or another solvent may be needed to get off dirt. Let the solvent dry for 10 minutes.
2. Mark area where pad will be placed with pencil first. Peel off backing of pad. Place stomp pad in front of your back foot binding and center edge to edge.
3. Only stick once, do not move, making sure not to damage adhesive. Use your fingers to press on pad with firm pressure. Use a hair dryer or heat source to help the pad stick if you want.
4. Let stomp pad adhere to board for a minimum of 12 hours before using. Better yet, bring your board inside your home and let the stomp pads rest overnight.
Keep your edge tool clean with the file brush!
Enjoy your Speed!
